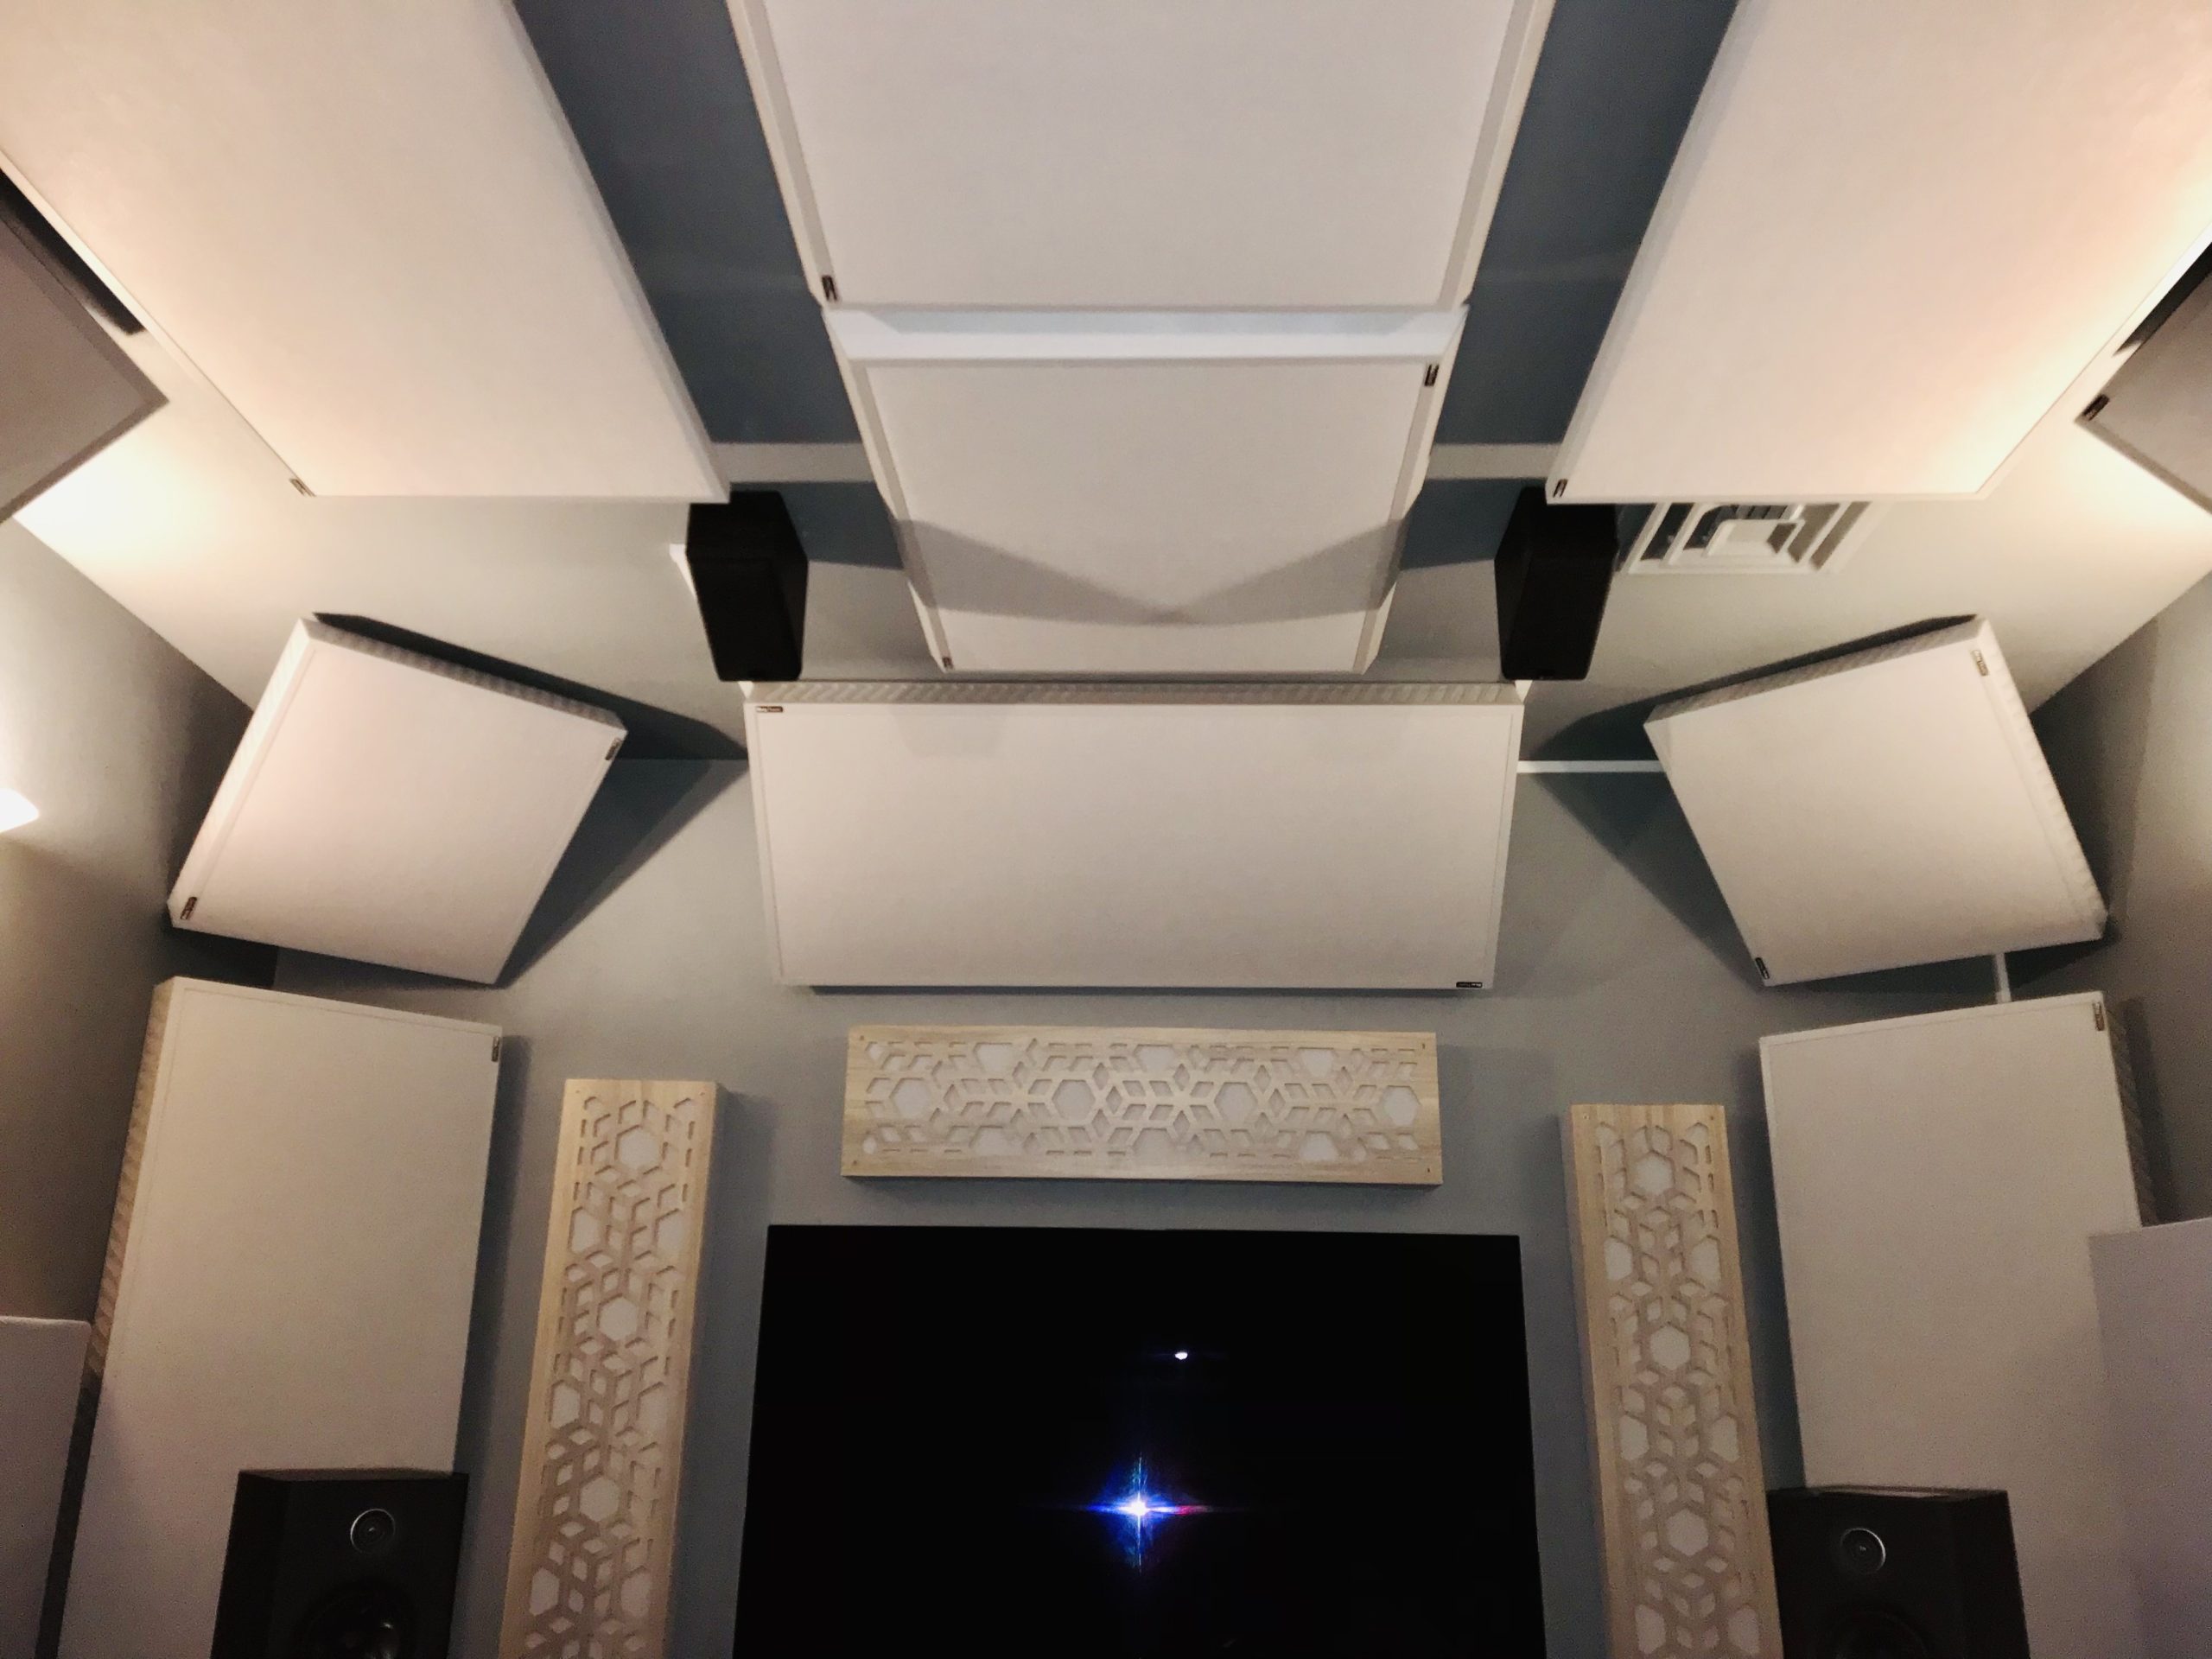
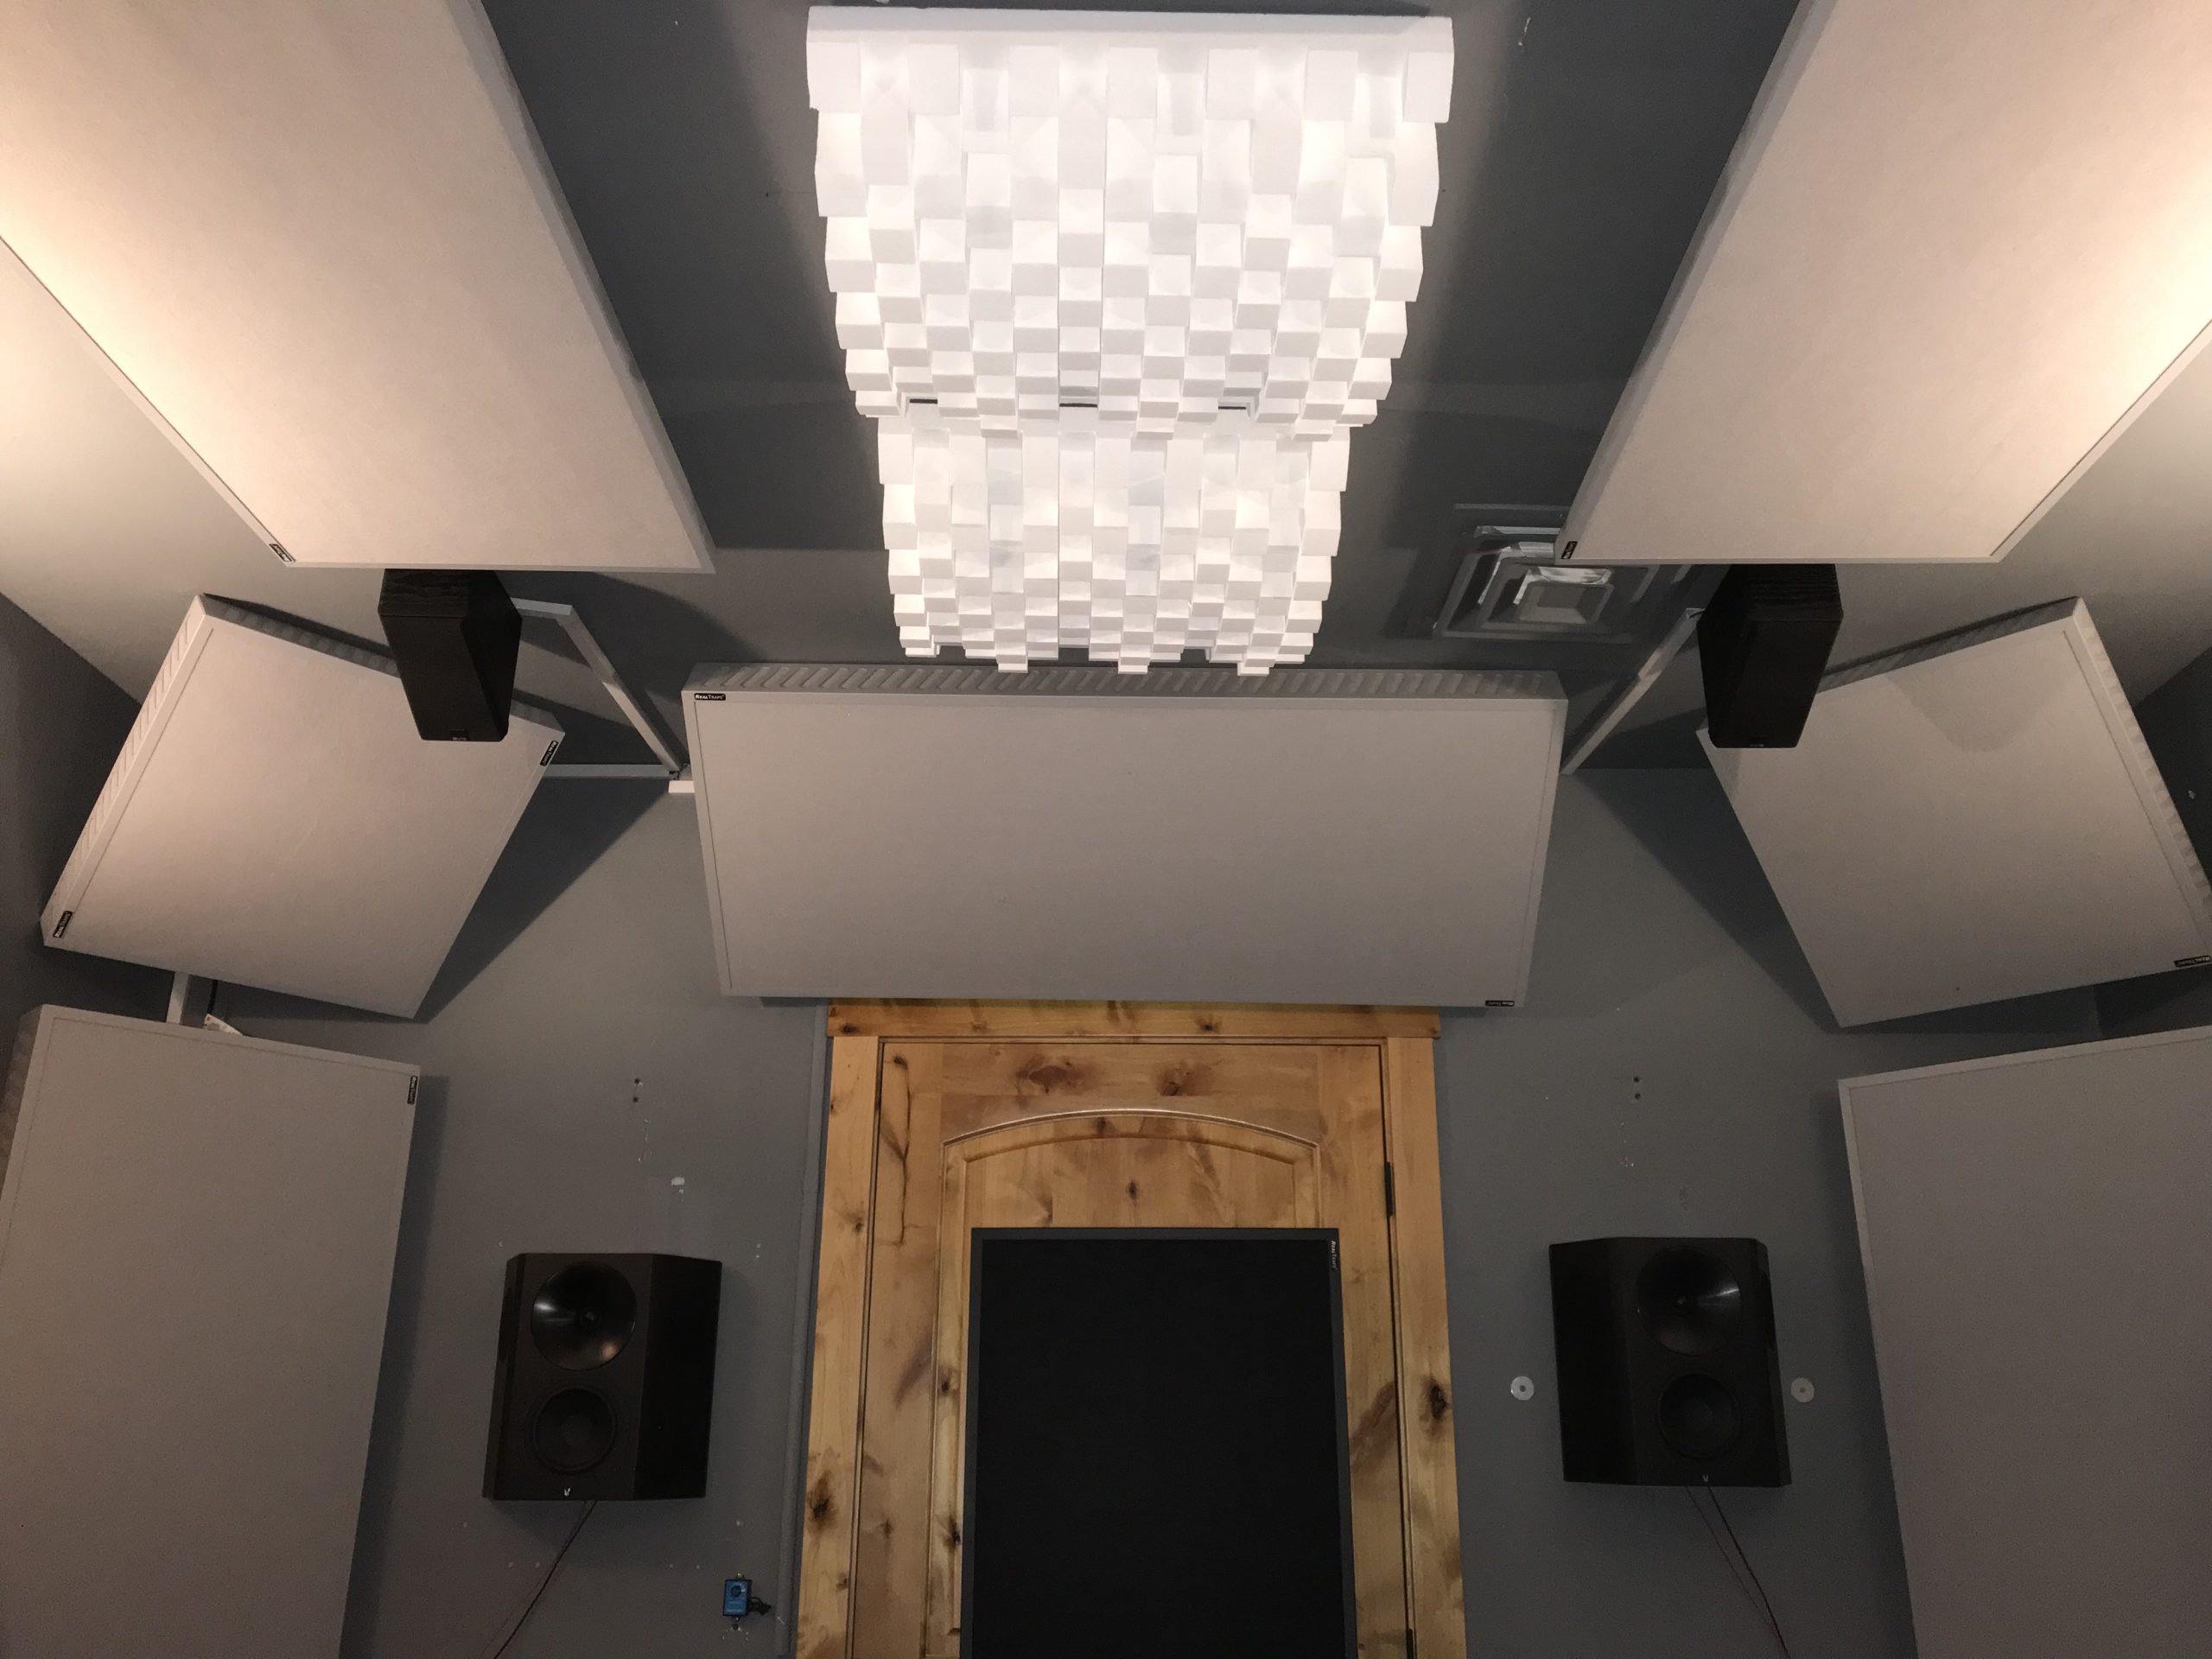
Placement of 1723 HEIGHT S speakers in ATMOS configuration
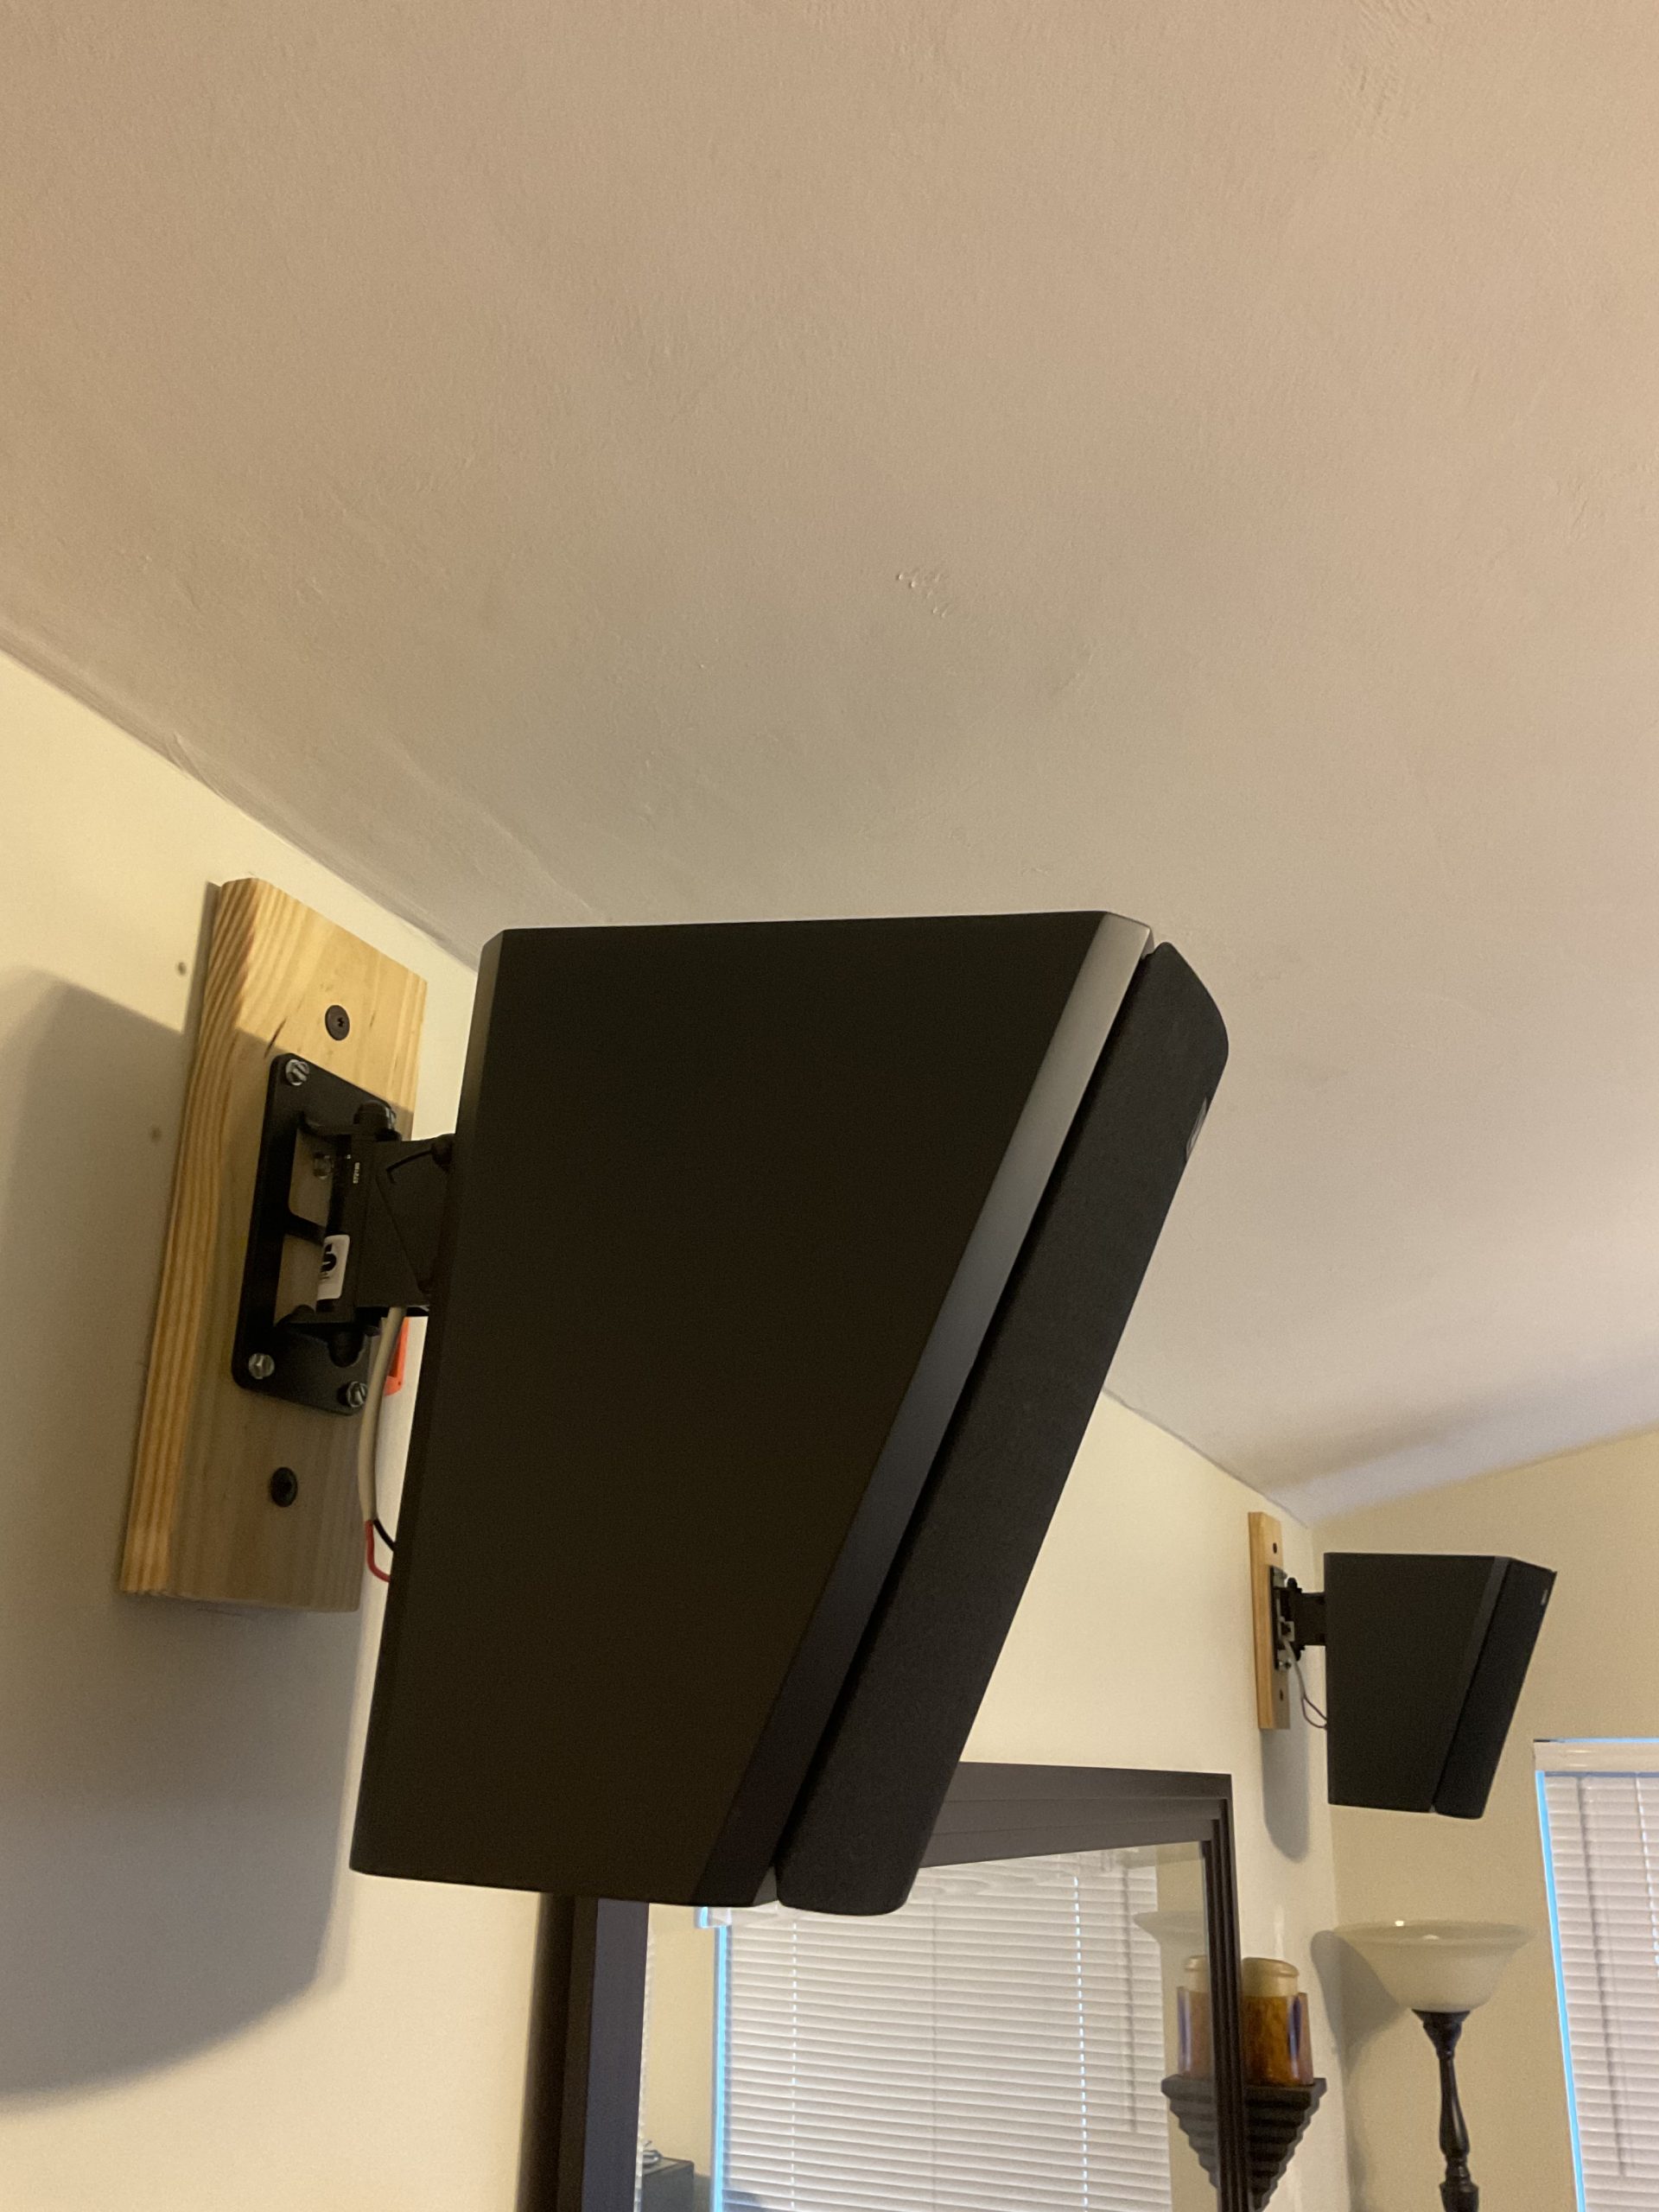
I’m replacing my SVS Prime Elevation speakers with Arendal 1723 HEIGHT S speakers. The Prime speakers were not placed according to spec. Since they needed to be moved why not replace them with Arendal to match 1723 SURROUND S THX?
Given my room dimensions, an online program provided me with the location of the ATMOS speakers. I placed tape on the floor based on the program’s speaker recommendations. Their placement is a bit wider and closer to the MLP. It looks okay to my untrained eyes, but I prefer another voice other than the one in my head. Does this look reasonable given my room measurements and the slant of the 1723 Height S speakers?
Room Measurements are
Length 15′ 9 1/8″ or 189.125″
Width 11′ 6 7/8″ or 138.875″
Height 8′ 4 1/2″ or 100.5″
MLP to Screen 7′ 11 11/16″ or 95.579″
Ear Distance from Floor 3′ 10 7/16″ or 46.4375″
Online Program recommendations for ATMOS Speakers.
Front Atmos Speakers
Speakers should be located 4′ 5.05″ into the room from the screen’s wall with 5′ 10.41″ distance between the tweeters of each front atmos speaker
Rear Atmos Speakers
Speakers should be located 11′ 4.95″ into the room from the screen’s wall with 5′ 10.41″ distance between the tweeters of each front atmos speaker