DIY Acoustic Treatment for HiFi Rooms
Article summary - TL;DR
- Enhancing your listening experience on a budget is possible with DIY acoustic treatments.
- Identify key areas needing treatment, like first reflection points and bass build-up corners.
- Experiment with materials like rockwool and fabric to create your own acoustic panels and diffusers.
- Optimize your room's layout by considering speaker placement and seating position for better sound quality.
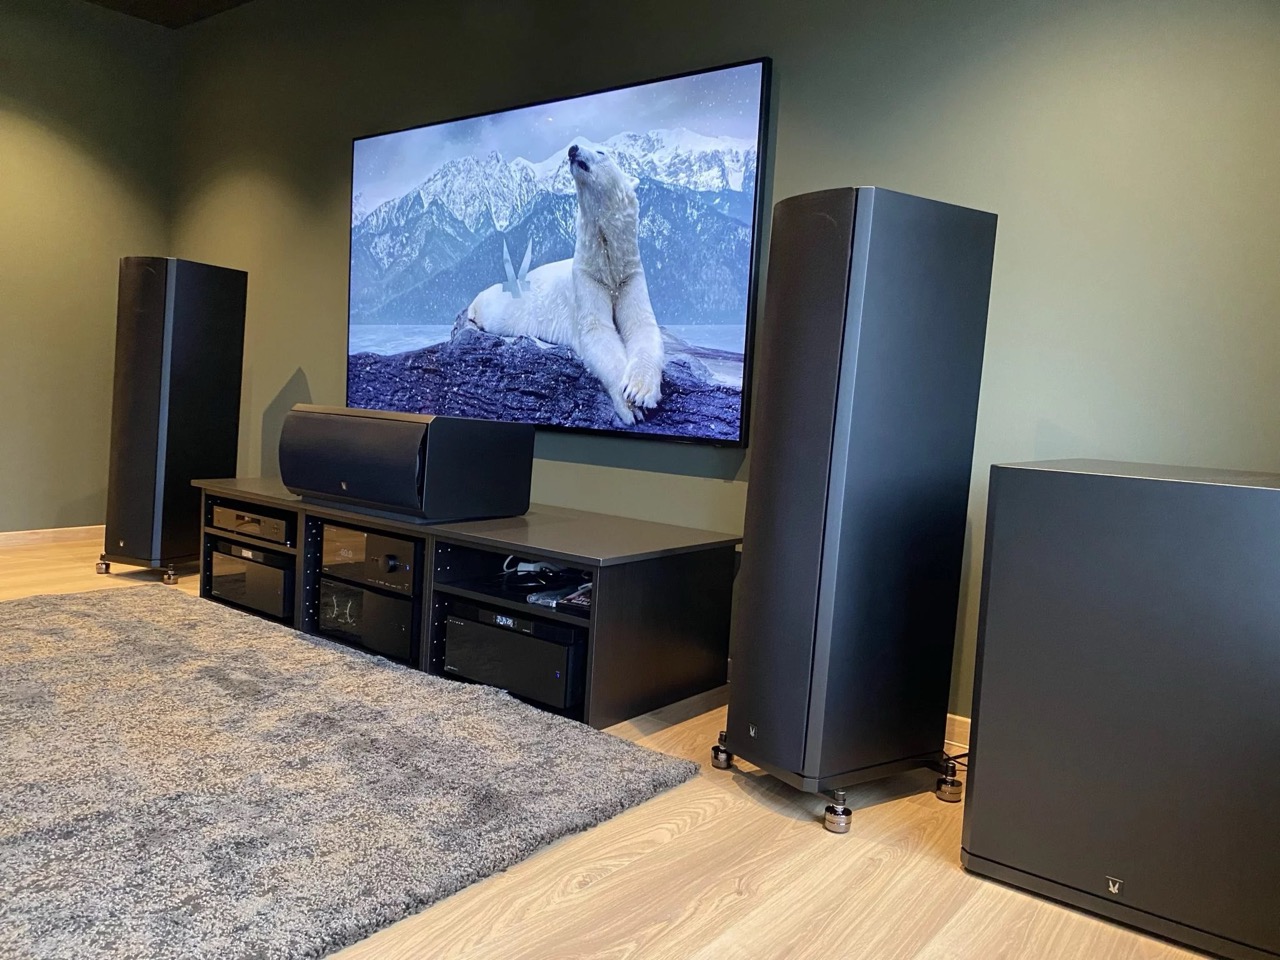
- Enhance your audio-visual setup with the 1528 Tower 8 for expansive sound and remarkable depth.
1. Crafting Your Acoustic Haven: Practical tips for improving sound quality on a budget
Building an acoustic haven doesn’t have to break the bank. With some creativity and a little effort, audiophiles can enhance their listening experience significantly. DIY acoustic treatments can be made from readily available materials and can be as effective as commercial products. By strategically placing these treatments, you can reduce echo and dampen unwanted reflections, bringing clarity and precision to your sound.
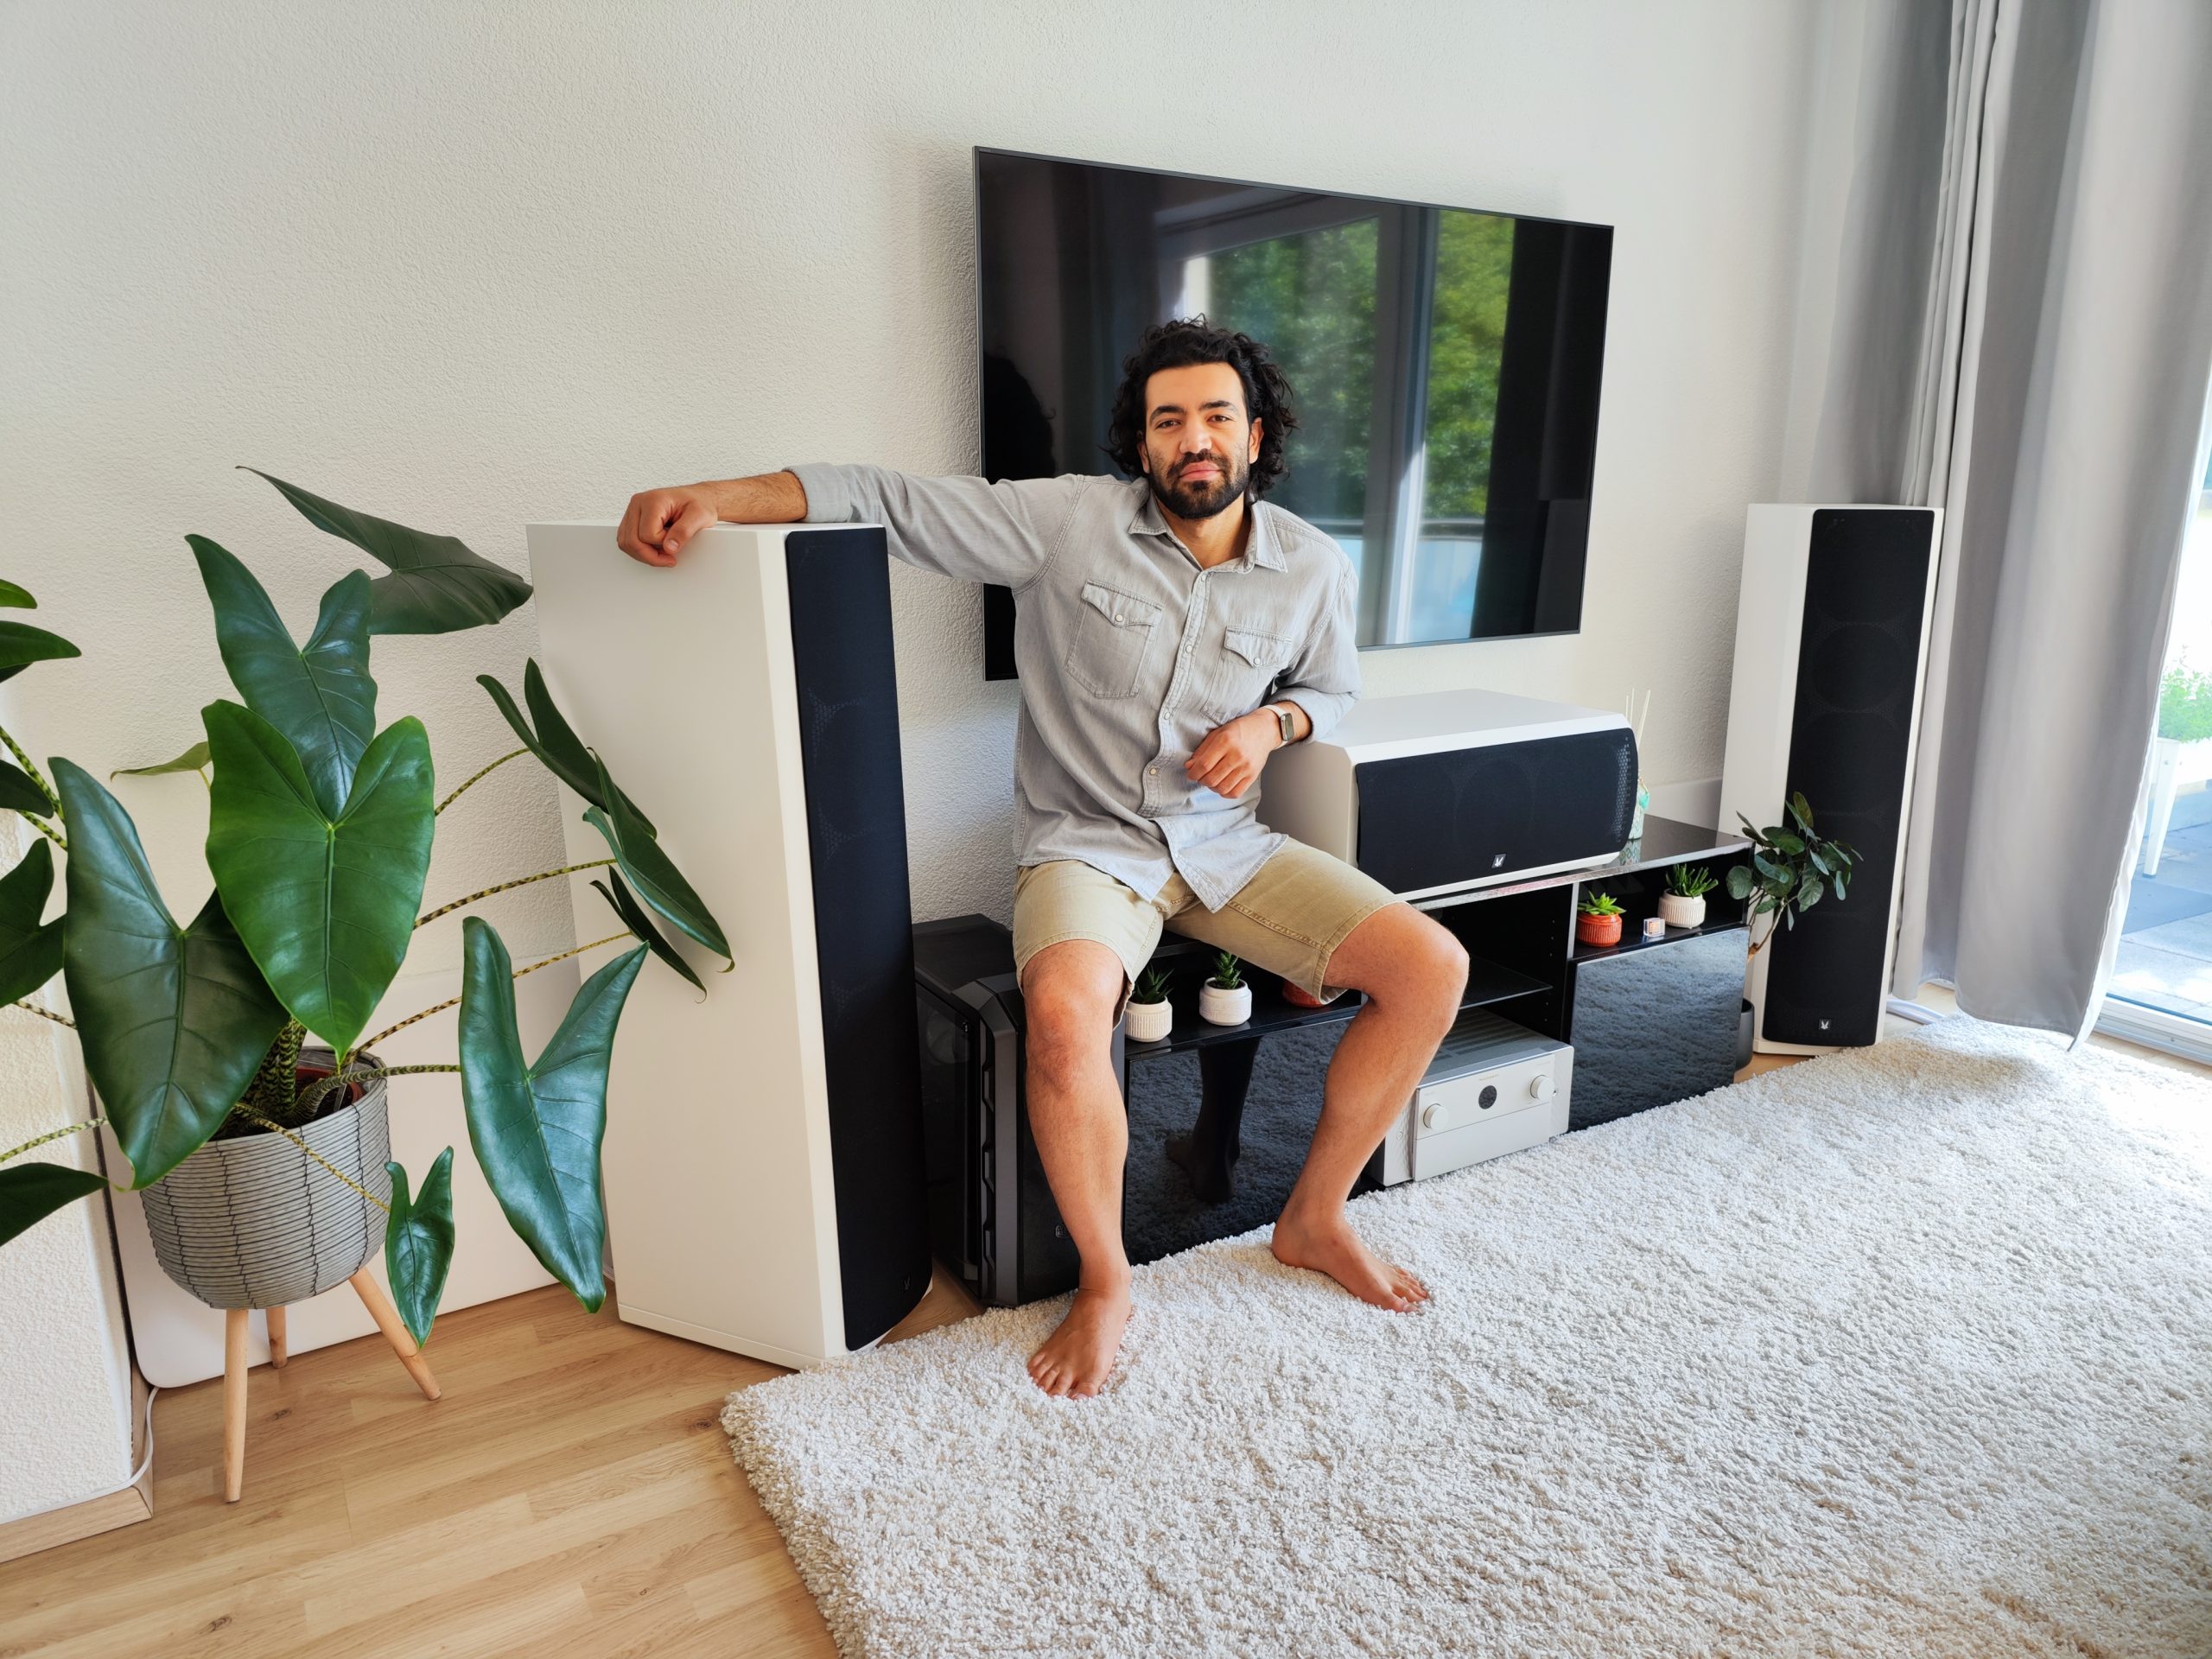
Begin by identifying the key areas that require treatment, such as the first reflection points on walls, and corners where bass build-up is common. Simple solutions like thick curtains or bookshelves filled with books can be used to absorb sound and minimize reflections. Moreover, experimenting with the placement of rugs and carpets can address floor reflections without needing specialized equipment.
In addition to these, consider sealing gaps and leaks around doors and windows. This helps in isolating the room from external noises, ensuring a quieter listening environment which is crucial for an immersive HiFi audio experience even before more advanced treatments are applied.
2. Materials and Techniques: Exploring DIY options for acoustic panels and diffusers
Acoustic panels and diffusers are essential for managing sound reflections and achieving balanced room acoustics. Fortunately, DIY enthusiasts can create their own acoustic panels using materials like rockwool or fiberglass insulation, wrapped in acoustically transparent fabric. These materials are effective at absorbing mid to high-frequency sound waves and can be easily mounted on walls or ceilings.
For diffusers, a more complex structure is often required to scatter sound waves, providing a sense of spaciousness to the sound. Wooden slats or arranged blocks can serve as effective diffusive surfaces. Be aware that the DIY approach demands precise measurements and some knowledge of how diffusers work to avoid unintentional anomalies in the sound field.
Adhesive sprays, acoustic caulk, and basic woodworking tools are part of the DIY arsenal for tackling these projects. While the manual effort is higher compared to buying pre-made options, the customization and cost savings can make DIY acoustic treatments an enjoyable and fulfilling endeavor.
3. Room Analysis: Identifying acoustic issues and addressing them effectively
Properly diagnosing your room’s acoustic challenges is the first step towards effective treatment. Clapping your hands or using a simple app can help reveal echo and reverb issues. For a more in-depth analysis, consider a microphone and software that measures room response. This provides a visual audit of where your room stands acoustically.
Once the problem areas are identified, prioritize the most disruptive issues. For instance, flutter echoes can be addressed with panels placed on parallel walls, while bass traps in corners can manage low-frequency build-up. Additionally, the distance between your speakers and walls, as well as your seating position, can have a significant impact on sound quality and should be optimized before adding treatments.
A common misconception is that more treatment is better, but over-treatment can lead to a room that’s too ‘dead,’ affecting the liveliness of your music. Aim for a balanced approach that preserves some natural acoustics for a more engaging listening experience.
4. Custom Solutions for Unique Spaces: Tailoring acoustic treatments to your room’s specific needs
Every room is unique, with its own set of acoustic characteristics and challenges. Customized DIY solutions can be tailored to fit the specific acoustic profile of your space. This ensures efficient and targeted treatment, which is essential for creating the best possible listening environment.
For unconventional room shapes or sizes, typically challenging areas like alcoves or bay windows can be outfitted with custom-cut panels or diffusers. Multifunctional furniture that doubles as an acoustic treatment, like ottomans filled with absorbing materials or strategically placed wall art with absorbent properties, can maintain aesthetic appeal while improving acoustics.
Last, don’t forget the ceiling—an often-overlooked boundary in acoustics. Ceiling clouds or baffles can significantly reduce vertical reflections and create a more controlled sound environment. With a careful application of these personalized touches, your HiFi room will not only sound great but also reflect your personal style and space requirements.
Frequently asked questions
How can I improve my sound quality on a budget?
You can improve sound quality by using DIY acoustic treatments made from materials like thick curtains, bookshelves, and rugs. These can reduce echo and unwanted reflections, enhancing clarity and precision in your listening experience.
What materials can I use to create DIY acoustic panels?
For DIY acoustic panels, use rockwool or fiberglass insulation wrapped in acoustically transparent fabric. These materials effectively absorb mid to high-frequency sound waves when mounted on walls or ceilings.
How do I analyze my room for acoustic issues?
Start by clapping your hands or using an app to identify echo and reverb issues. For a deeper analysis, consider using a microphone and software to measure room response, which helps pinpoint problem areas.
What common acoustic problems can I address with treatments?
Address issues like flutter echoes with wall panels and manage low-frequency build-up with bass traps in corners. Also, optimize the distance between your speakers and walls, as well as your seating position, for better sound quality.
Can I create custom acoustic solutions for unique room shapes?
Absolutely! You can create custom acoustic treatments tailored to your room's specific needs, such as custom-cut panels for alcoves and multifunctional furniture that doubles as acoustic aids. This allows you to improve sound quality while maintaining the room's aesthetic.
What is the role of ceiling treatments in acoustics?
Ceiling treatments, like acoustic clouds or baffles, are crucial as they reduce vertical reflections. Addressing the ceiling can greatly enhance your overall sound environment for a more controlled listening experience.
How much acoustic treatment is too much?
While adding acoustic treatment improves sound, over-treating a room can make it too ‘dead’ and affect the liveliness of your music. Aim for a balanced approach that preserves some natural acoustics.
What are some simple DIY solutions for soundproofing my listening room?
Sealing gaps around doors and windows can help isolate your room from external noises. Using thick curtains and strategically placed rugs will also help in soundproofing without needing specialized treatment.
How effective are DIY acoustic treatments compared to store-bought ones?
DIY acoustic treatments can be just as effective as commercial products when properly executed. They offer customization and are often more cost-effective, allowing you to create tailored solutions for your specific acoustic challenges.


