Understanding Speaker Wiring Basics
Article summary - TL;DR
- Understanding speaker wire basics is Key: 2-conductor types carry signals correctly.
- Gauge matters! Thicker wires reduce power loss over long distances for sound quality.
- Plan your speaker layout for optimal surround sound positioning.
- Ensure correct polarity during connections for unified sound across all speakers.
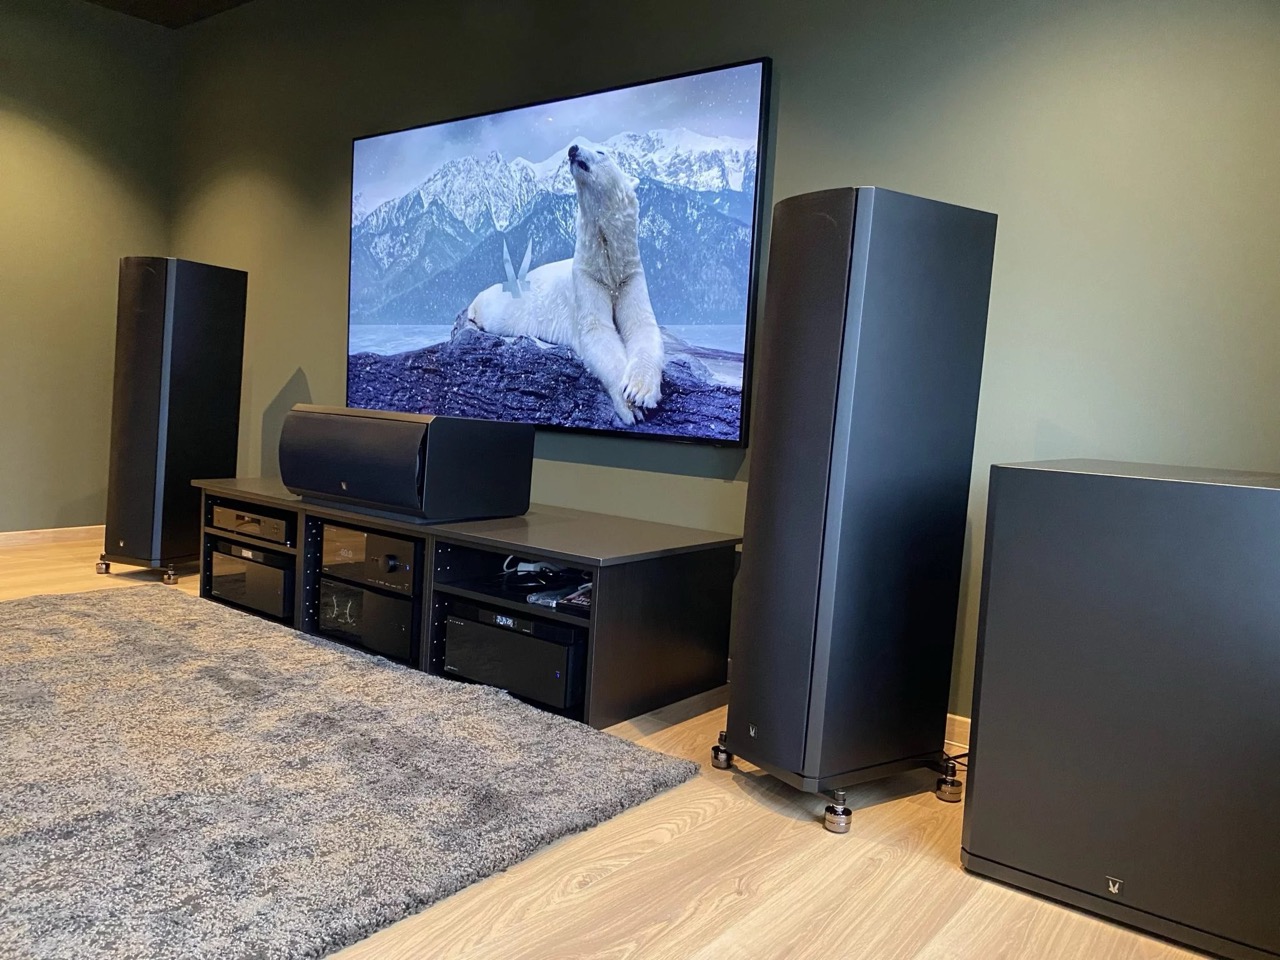
- Enhance your audio-visual setup with the 1723 Tower THX, ensuring cinematic audio quality.
Before diving into the complexities of speaker wiring, it’s critical to understand some basics. Speaker wires are responsible for carrying audio signals from your amplifier or receiver to your speakers. The most common types of speaker wire are ‘2-conductor’ which have a positive and negative wire to ensure the correct flow of audio signals.
The gauge or thickness of the wire is also an important consideration – lower gauge numbers indicate thicker wires. Thicker wires can carry more power and reduce power loss over long distances, which can be crucial for maintaining sound quality in a home theater setup.
It’s equally important to ensure that the polarity is consistent when connecting your speakers. This means connecting positive terminals to positive and negative to negative so that all speakers move in phase and provide a unified sound field.
Planning Your Home Theater Speaker Layout
Planning is a crucial stage in the home theater construction process. It’s during this phase that you’ll decide on the number of speakers and their locations based on the surround sound format you choose, like 5.1, 7.1, or even Dolby Atmos systems. This will impact the amount and length of speaker wire you’ll need.
Consider the seating arrangement and where the main listening spot will be, as this will be the focal point for your audio setup. Speaker placement around the listener should create an immersive surround sound experience, with front, side, rear, and potentially ceiling-mounted speakers if you’re incorporating Atmos.
Once you’ve mapped out where each speaker will go, measure the distances from your AV receiver or amplifier to each speaker location to determine how much wire you’ll need. Remember to add extra length to account for any obstacles or routing through walls or conduits.
Choosing the Right Speaker Wire for Your Home Theater
Selecting the right gauge of speaker wire is important for the performance of your home theater system. For most home setups, a 16-gauge wire is adequate, but for runs longer than 50 feet, or for more power-demanding speakers, you might need a thicker 12 or 14-gauge wire.
The quality of the speaker wire can also impact the sound. Oxygen-free copper (OFC) wire is a popular choice among audiophiles due to its high conductivity and resistance to corrosion, which can preserve the quality of the signal over time.
Consider also the outer insulation of the wire, especially if you’re running it through walls or around other cables. Durable, thick insulation can prevent signal interference and physical damage to the wire. Some wires come pre-labeled with a stripe or color coding on one conductor to help maintain consistent polarity.
Running Wires for Your Home Theater Speakers
Running speaker wires can be a neat and tidy process if planned well. Consider using wire concealers or running the wires under carpets to keep them out of sight. For a cleaner look and to prevent tripping hazards, you might opt to run wires through walls, ceilings, or along baseboards.
If you’re running wires through walls, you may need additional tools and accessories like fish tape, wall bushings, and cable plates. Local building codes might require the use of in-wall rated wires for such installations, so check the requirements beforehand. Remember to avoid running speaker wires too close to power cables to prevent potential interference.
Labeling your wires at both ends can save a lot of confusion when it’s time to connect your speakers. Use color-coded tape or wire markers to keep track of which wire goes to which speaker. This is especially helpful for multi-channel systems with numerous wires.
Connecting Speakers to Receiver or Amplifier
Once your wires are run, it’s time to connect your speakers. Ensure that your receiver or amplifier is turned off before making connections. Strip the insulation off the ends of your wires to reveal enough bare wire to make a firm connection with the speaker terminals.
For most home theaters, the connection will be made using the binding posts on the back of the speakers and receiver. Unscrew the caps, insert the bare wire into the hole or around the post, and then screw the cap back down to secure the wire.
Some speakers and receivers have spring-clip terminals, which can be easier to use but don’t always accommodate thicker wires. Simply push down on the clip, insert the bare wire, and release the clip to secure the wire. Double-check that the connections match the polarity—positive to positive and negative to negative.
Troubleshooting Common Speaker Wiring Issues
After all the connections are made, it’s time to test your system. If you’re not hearing sound or if the sound quality isn’t up to par, there are several troubleshooting steps you can take. First, check if all connections are secure and correctly matched in polarity.
If the problem persists, inspect the wires for any breaks or damage that may have occurred during installation. A wire continuity test can help spot hidden issues within the wire itself. Also, make sure that the gauge of wire you’ve used is adequate for the length of the run and the power requirements of your speakers.
If you’re experiencing humming or interference, ensure that your speaker wires aren’t running too close to any power cables or that there are no loose connections that could be picking up noise.
Frequently asked questions
What are the basics of speaker wiring I should know?
Speaker wiring carries audio signals from your amplifier or receiver to your speakers. The most common type is '2-conductor', which has positive and negative wires to ensure proper audio signal flow.
How does speaker wire gauge impact sound quality?
Lower gauge numbers indicate thicker wires, which can carry more power and reduce power loss over long distances, enhancing sound quality in your home theater setup.
Why is speaker polarity important in a home theater system?
Consistent polarity—connecting positive to positive and negative to negative—is crucial to ensure all speakers move in phase, providing a unified sound field.
Which gauge of speaker wire should I use for my home theater?
A 16-gauge wire is generally adequate for most setups. If your runs exceed 50 feet or involve power-demanding speakers, consider using a thicker 12 or 14-gauge wire.
What type of speaker wire is best for performance?
Oxygen-free copper (OFC) wire is popular due to its high conductivity and corrosion resistance, preserving sound quality over time.
How can I conceal speaker wires for a neater appearance?
Use wire concealers or run wires under carpets. For a cleaner look, consider running wires through walls, ceilings, or along baseboards.
What should I do before connecting speakers to my receiver or amplifier?
Ensure your receiver or amplifier is turned off before making connections. Strip the insulation from the wire ends for a secure connection with the speaker terminals.
How can I troubleshoot common speaker wiring issues?
Check that all connections are secure and matched in polarity. Inspect wires for damage and ensure the gauge is adequate for your speakers’ power requirements.
What can cause humming or interference in my speaker setup?
Humming may result from speaker wires running too close to power cables or from loose connections. Ensuring proper placement and secure connections can help eliminate noise.


