3D Home Theater Renders
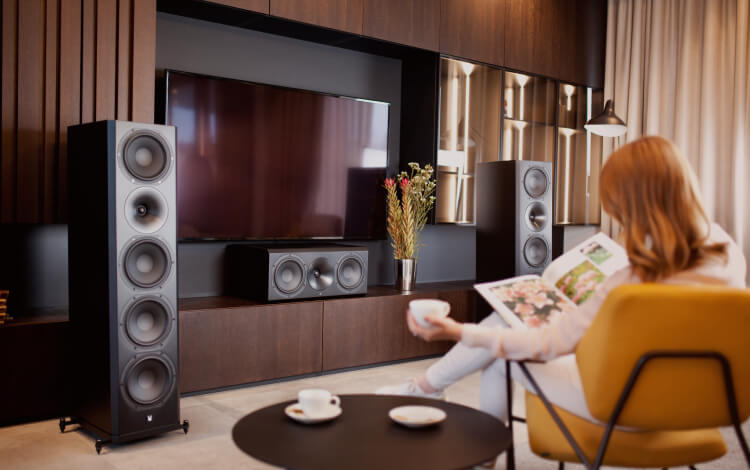
Creating a home theater is an exciting project that allows you to enjoy an immersive cinema experience in the comfort of your own home. When planning and designing your home theater, one valuable tool to utilize is 3D home theater renders. These realistic visual representations of your future home theater can help you make informed decisions and ensure that the final result meets your vision and expectations.
Why Use 3D Home Theater Renders?
Before diving into the process of creating 3D home theater renders, it’s essential to understand why they are beneficial. Here are a few reasons to consider:
- Visualization: 3D renders provide a realistic visual representation of your home theater design, allowing you to see how different elements will come together.
- Layout and Design Planning: By using 3D renders, you can experiment with various floor layouts, seating arrangements, and speaker placements to find the most optimal design for your space.
- Color and Material Selection: With 3D renders, you can explore different color schemes and material options, ensuring that your chosen palette and finishes complement your desired aesthetic.
- Avoiding Costly Mistakes: By visualizing your home theater in 3D, you can identify potential issues or challenges early on, preventing costly mistakes during the construction or installation process.
The Process of Creating 3D Home Theater Renders
Now that you understand the benefits of utilizing 3D home theater renders, let’s explore the process of creating them:
- Gather Measurements: Start by measuring the dimensions of your room, including the height, width, and length. Note any architectural features such as windows, doors, or columns that may impact the design.
- Choose Software: Select a 3D rendering software that suits your needs and level of expertise. Popular options include SketchUp, Blender, and AutoCAD.
- Build a Digital Model: Use the software to create a digital model of your room. Start by recreating the walls, floor, and ceiling, and then add in the details such as furniture, lighting fixtures, and equipment.
- Experiment with Design Elements: This is where the fun begins. Play around with different seating arrangements, screen sizes, speaker placements, and room décor to find the perfect combination for your home theater.
- Apply Materials and Textures: Add color, textures, and finishes to your digital model to get a realistic representation of the final look. Experiment with different materials for the walls, floors, and seating upholstery.
- Lighting and Acoustics: Pay attention to lighting design and acoustics during the rendering process. Experiment with various lighting fixtures and evaluate how they affect the ambiance of the room. Additionally, consider the impact of room acoustics on sound quality.
- Refine and Finalize: Take the time to refine your design, making small adjustments as needed. Seek feedback from friends, family, or home theater professionals to ensure that your design meets the necessary requirements for optimal audio and video performance.
Working with a Professional
If you’re not familiar with 3D rendering software or simply prefer to work with a professional, consider hiring an interior designer or home theater specialist who specializes in creating 3D home theater renders. They have the expertise and tools to bring your vision to life.
By utilizing 3D home theater renders, you can have a clear vision of your home cinema before construction even begins. It’s an invaluable tool that allows you to make informed decisions, avoid mistakes, and ultimately create the home theater of your dreams.